The AeroPress was invented in 2004 and has become a favorite method for travelers, campers, and anyone who wants a clean, balanced cup without complexity.
With the right grind size, water ratio, and timing, this small brewer can produce an incredibly smooth and controlled cup in just a few minutes.
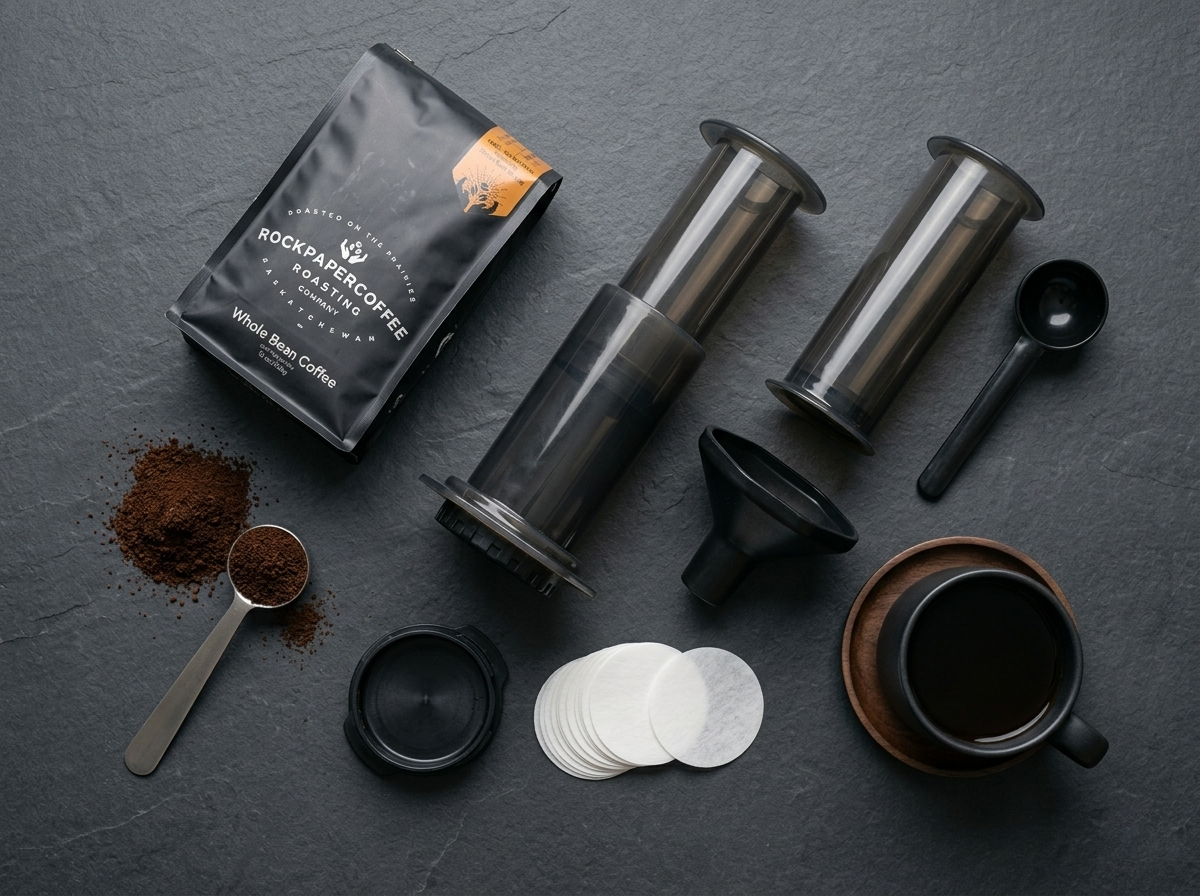
What You’ll Need
- AeroPress brewer
- Coffee (medium-fine grind)
- Kettle
- Scale (recommended)
- Filter
- Stirrer / paddle
Step-by-Step Brewing Guide
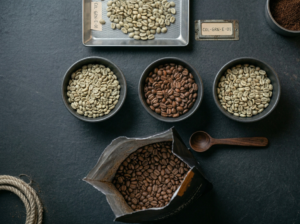
1. Choose your coffee
- Start with fresh, quality beans. If you’re not sure where to begin, explore our selection and find what fits your taste.
- For AeroPress, a medium-fine grind usually works best for a balanced and clean cup.
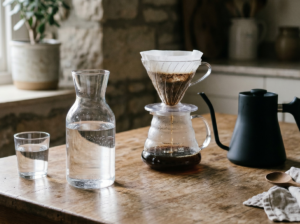
2. Heat Your Water
- Boil filtered water and set it aside briefly. Ideal temperature is around 85–95°C (185–203°F).
3. Prepare the Filter
- Place the filter in the cap and rinse it with hot water.
This removes any paper taste and warms your setup. Discard the rinse water.
4. Set Up Your Brewer
- Attach the filter cap to the AeroPress and place it on top of your mug and scale.
5. Add Coffee and Water
- Measure 16–18 grams of coffee (medium-fine grind).
(Optional: use a funnel to avoid spilling.)
- Gently shake to level the grounds.
- Pour hot water quickly up to the “4” mark (about 200–220g) within 10 seconds.
5. Stir and Start Extraction
- Stir briefly to fully saturate all the coffee grounds and begin extraction.
6. Create Pressure
- Insert the plunger into the top of the chamber and pull up slightly to create a vacuum seal.
- Let it sit for about 1 minute.
7. Press
- Gently press down with a slow, steady, and controlled motion.
- Do not force it — let the pressure do the work.
When you hear a hissing sound, the extraction is complete.
8. Serve
- The total brew time should be around 2 minutes.
- Remove the AeroPress, pour your coffee if needed, and take a moment before the first sip.
Enjoy the Process
Simple, controlled, and consistent.
AeroPress is about getting it right; anywhere, anytime.